Learn Record My Desktop
Introduction
Record My Desktop is a desktop session recorder, for GNU / linux that attempts to be easy to use.
ICT Competency
Record my desktop is a tool for Generic Resource Creation
Educational application and relevance
Record My Desktop is a program that captures audio-video data of a desktop session. You can use this application to create video's, voice dubbing with local language for classroom purpose etc..
Version
The current version is: recordMyDesktosp : 0.3.8.1
gtk-recordMyDesktop: 0.3.8
qt-recordMyDesktop: 0.3.8
Configuration
This tool has no specific configuration requirements. It is available as a part of Ubuntu custom distribution.
Overview of Features
- The recording can be paused and resumed at any time.
- It can record the entire screen or part of it.
Other similar applications
SimpleScreenRecorder SimpleScreenRecorder is a Linux screen recorder that supports X11 and OpenGL. It is easy to use, feature-rich.
Kazam Kazam is a simple screen recording program that will capture the content of your screen and record a video file that can be played by any video player that supports VP8/WebM video format.
VokoScreen A small program to create screen videos including sound recording.
Development and community help
Working with the application
Functionalities
|
|
|
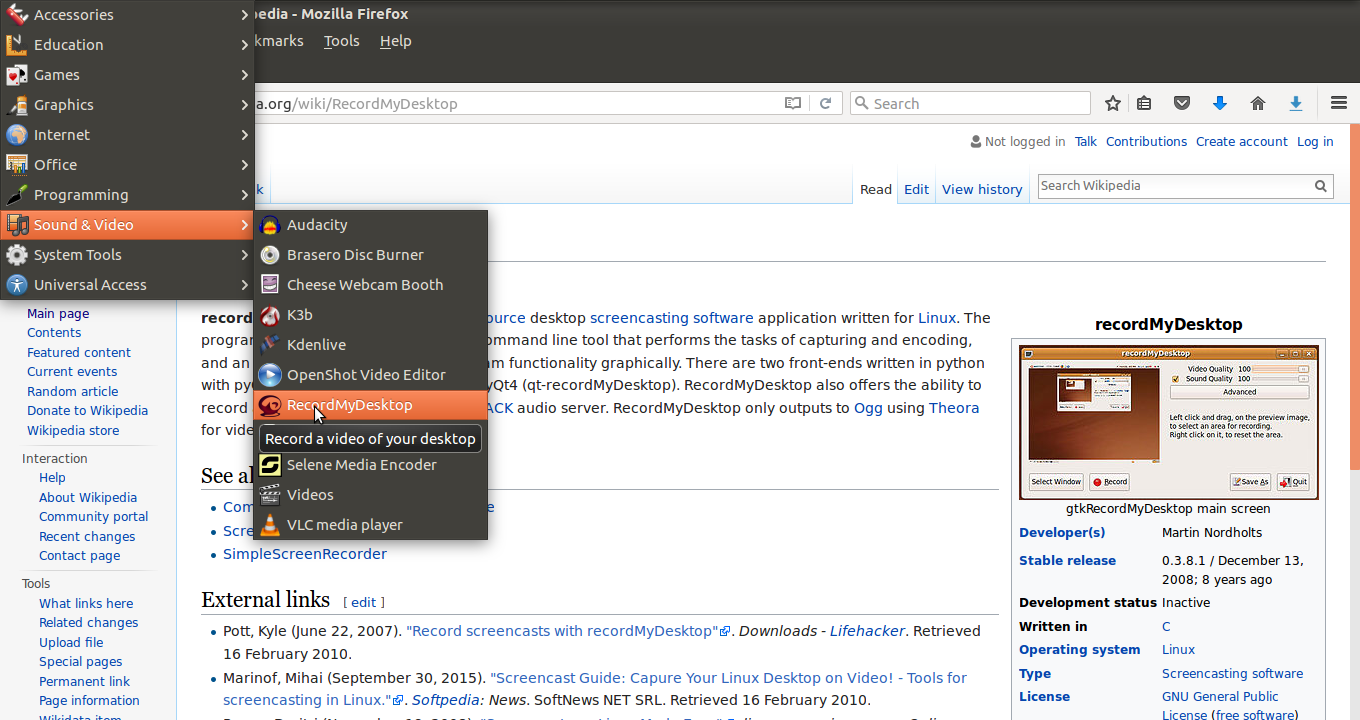
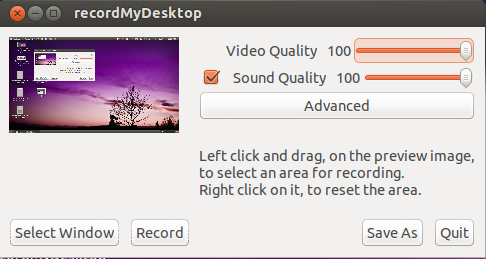
| Step 1- Record My Desktop will appear under Applications > Sounds & Video > Record MyDesktop. When you open the Record My Desktop application, it will show the window like this.. You can adjust Video and Sound Quality by adjusting the slider near the top right of this window. If you un-tick the box for Sound Quality, sound will not be recorded (whatever is playing in your speakers). The better the quality of Video and Sound, the bigger will be the size of recorded file.
If you click on RECORD button, desktop recording will get start. |
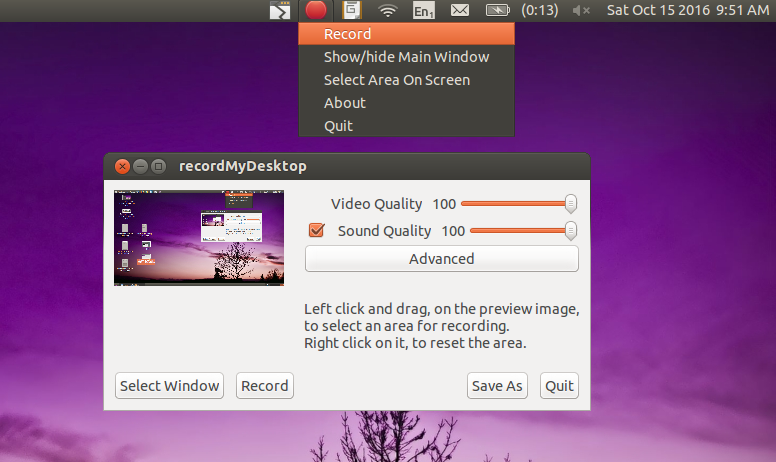
Step 2-Select window ; You can also select the window to record, click on select window, then it will ask you to grab the area to select. Now click on RECORD button. If you click record button in the icon bar we identify the red button in the top panel. Its is a symbol of record process. |
|
|
|
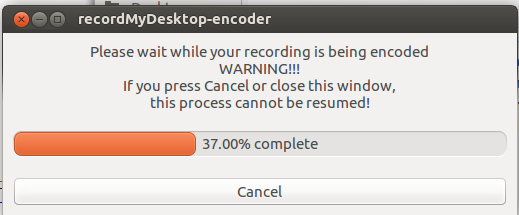
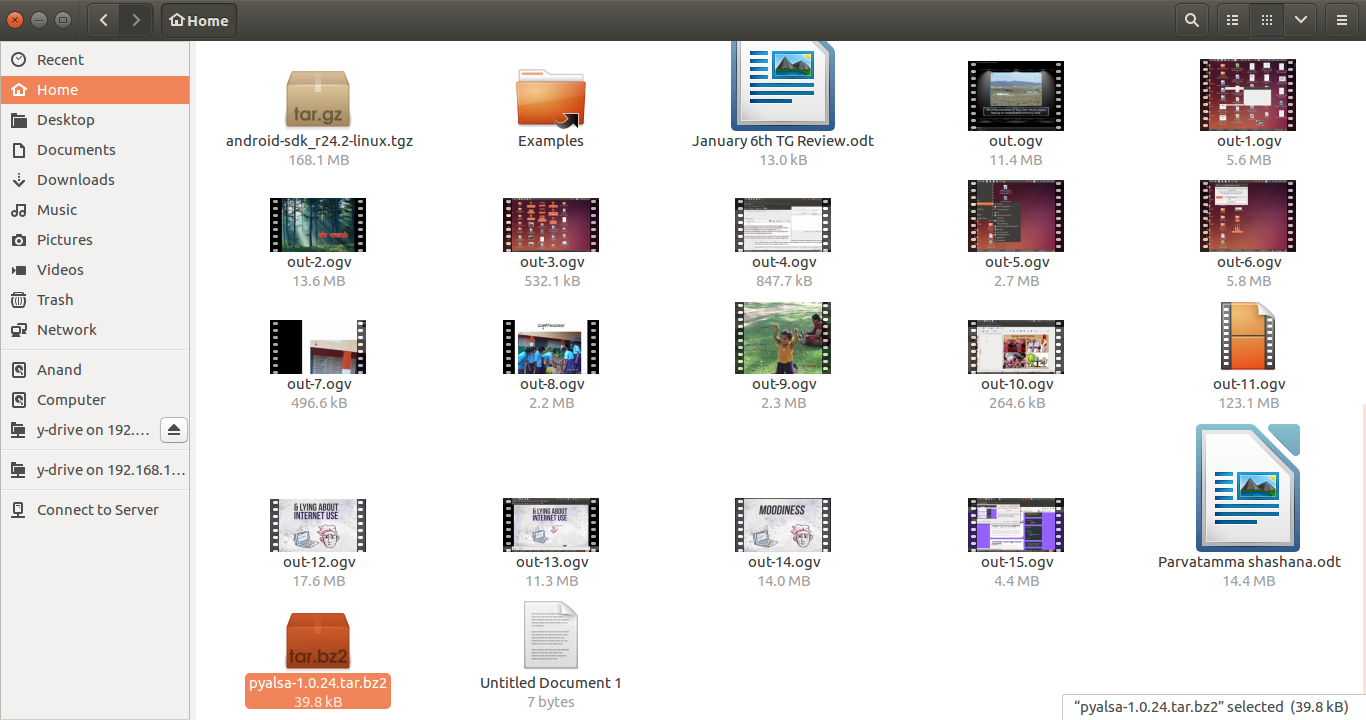
| Step 3- When you feel you've recorded enough, click the RECORD button on the tope panel and then click STOP.Now the loading process will get start as like this image. we need to wait till its get completed. Then only we will get output file. If we close the loading process before its get complete, then we will loose the output file. | Step 4- After the loading process completed, the output file will be saved in "HOME" folder by default with .ogv format |
File formats for creation
Not Applicable
Saving the file
Output file will be save on .ogv format
Export and publishing files
Not Applicable
Advanced features
Installation
| Method of installation | Steps |
|---|---|
| From Ubuntu Software Centre | Type "Record My Desktop" in search bar and then click Install |
| From Terminal | sudo apt-get install recordmydesktop |
| From the web | http://recordmydesktop.sourceforge.net/downloads.php visit this webpage to download |
| Web based registration | Steps |
The application on mobiles and tablets
In android mobile google play store we have many apps like AZ Screen Recorder,Screen Recorder etc =Ideas for resource creation

