Difference between revisions of "Learn Tux Paint"
| Line 58: | Line 58: | ||
|- | |- | ||
| style="width: 50%;" |[[File:Tuxpaint animation.png|400px]] | | style="width: 50%;" |[[File:Tuxpaint animation.png|400px]] | ||
| − | | style="width: 50%;" |[[File:tuxpaintanimation1.png|400px]][[File:Animation | + | | style="width: 50%;" |[[File:tuxpaintanimation1.png|400px]][[File:Animation play.png|400px]] |
|- | |- | ||
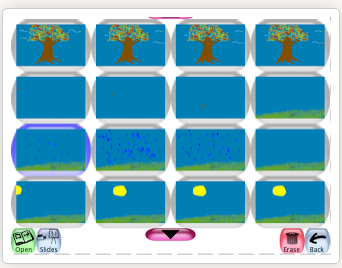
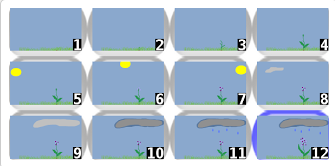
| style="width: 50%;" |step 5- Animation with Tux Paint- You can make simple animation using different slides. For Example : you can use Tux Paint to draw the life stages of a plant and you can start with a seed being blown from a mature plant. After a bit of modelling, you can create series of images showing the sun moving though the sky as a seedling grew, or rain watering a flower that keep increasing the number of petals. Each time you can make slight changes to each drawings and finally you can save the new one as a new file. | | style="width: 50%;" |step 5- Animation with Tux Paint- You can make simple animation using different slides. For Example : you can use Tux Paint to draw the life stages of a plant and you can start with a seed being blown from a mature plant. After a bit of modelling, you can create series of images showing the sun moving though the sky as a seedling grew, or rain watering a flower that keep increasing the number of petals. Each time you can make slight changes to each drawings and finally you can save the new one as a new file. | ||
Revision as of 11:16, 14 March 2017
Introduction
ICT Competency
Educational application and relevance
Tux Paint is a free and open source graphics editor computers with different operating systems. It features a simple interface and a fixed drawing area with access to previously made images using icons. Tux Paint is equipped with a lot of tools designed to excite young learners, from cartoon mascots who encourage them to use the software to cartoon sound effects.
Version
Tool Version-0.9.22
Configuration
Tux Paint is part of the Ubuntu distribution (in the training). This can be opened from Applications → Education → Tux Paint
Overview of Features
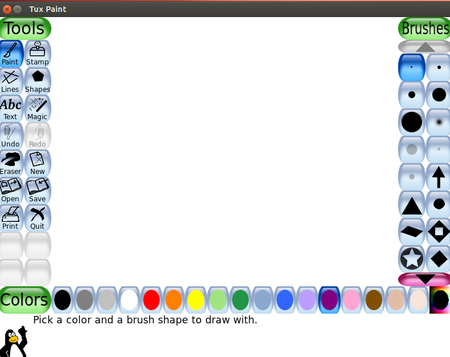
- Toolbox, containing the various basic tools and application controls (undo, save, new, print)
- Canvas, where the images are drawn and edited
- Color palette, where colors can be chosen (when applicable to the current tool)
- Selector, providing various selectable objects (e.g., brushes, fonts or sub-tools, depending on the current tool)
- Information area, where instructions, tips and encouragement are provided
You can view detailed features here
Other similar applications
Similar applications include GIMP, MyPaint, Kolourpaint
Development and community help
1. Tux paint help document is Here
2. Tux paint tutorials are Here.
Working with the application
Functionalities
File formats for creation
The files created are stored in the /home/.tuxpaint/saved folder, in the 'png' format. To open the .tuxpaint folder, you may need to select the 'view hidden' files in the /home folder on Ubuntu. The file name will begins with 'year+month+date' in YYYYDDMM format, followed by a serial number.
Saving the file
Steps For Saving File
1. Go to File menu select Save option
2. give the name for the file
3. It can be saved in *.ora , *.jpg , *.png and *.jpeg
The files saved by Tux Paint are available in your home folder, under the sub folder /.tuxpaint/saved
Export and publishing files
Steps For export and publishing File
1. Go to File menu select Export option
2. give the name for the file
3. It can be saved in *.ora , *.jpg , *.png and *.jpeg
Advanced features
1.Multi-Platform
2.Simple Interface
3.Entertaining Interface
4.Drawing Tools
Installation
| Method of installation | Steps |
|---|---|
| From Ubuntu software Centre | search as “Tux Paint” in software centre → select and click on Install. |
| From Terminal | Open terminal by clicking (ctrl+Alt+T), Once window page is open, in front of dollar($) symbol just type below command.
sudo apt-get install tuxpaint |
| From the web | Follow the below link for Installing through web, but again it will take you through software center. |
| Web based registration | Not applicable |
The application on mobiles and tablets
currently there is no mobile app for Tux Paint
Ideas for resource creation
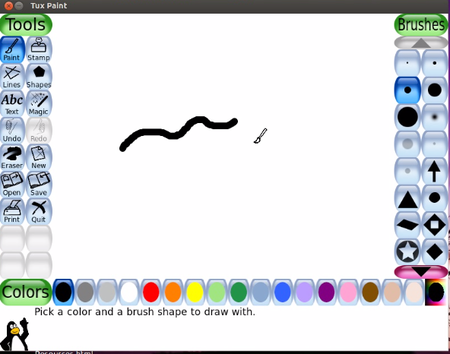
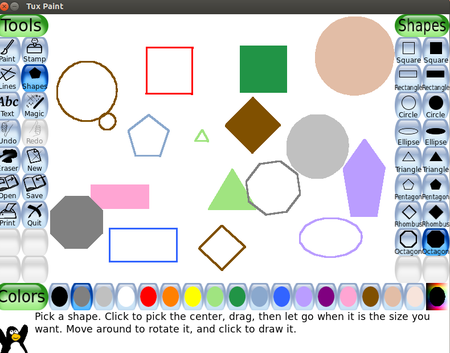
- It is easy to use Tux Paint to create simple drawings. These drawings can be a combination of what you can draw, combined with the 'stamps' or images already available in the application. Thus image/graphics resources can be created with Tux Paint. These images can be inserted in documents to create picture essays.
- The files saved by Tux Paint are available in your home folder, under the sub folder /.tuxpaint/saved
- The "." preceding the tuxpaint makes this folder 'hidden'. To unhide and open this folder you can do CTRL H when you have opened your home folder. You can then see all hidden folders. You can copy these files to any other folder you want.
- It is also possible to create simple animations in Tux Paint. You can create a series of drawings, with small modifications as required. You can sequence these drawings to show one after another. You can then 'play' the slides for to create an animation.

