"Learn Geogebra" के अवतरणों में अंतर
| पंक्ति ४४: | पंक्ति ४४: | ||
##<code>sudo apt-get install geogebra</code> | ##<code>sudo apt-get install geogebra</code> | ||
| − | === | + | === '''एप्लीकेशन के साथ काम करना''' === |
| − | ==== | + | |
| + | ==== '''जियोजेब्रा इंटरफ़ेस से परिचित होना''' ==== | ||
<gallery mode="packed" heights="250px" caption="Geogebra interface"> | <gallery mode="packed" heights="250px" caption="Geogebra interface"> | ||
| − | File:Geogebra1.png| | + | File:Geogebra1.png|जियोजेब्रा खोलना |
| − | File:Geogebra2a.png| | + | File:Geogebra2a.png|ग्राफिकल इंटरफ़ेस को परिभाषित करना |
| − | File:Geogebra2.png| | + | File:Geogebra2.png|जियोजेब्रा विंडो में तीन खंड |
</gallery> | </gallery> | ||
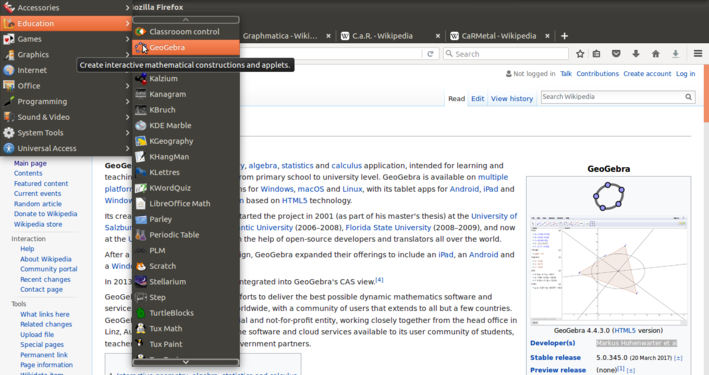
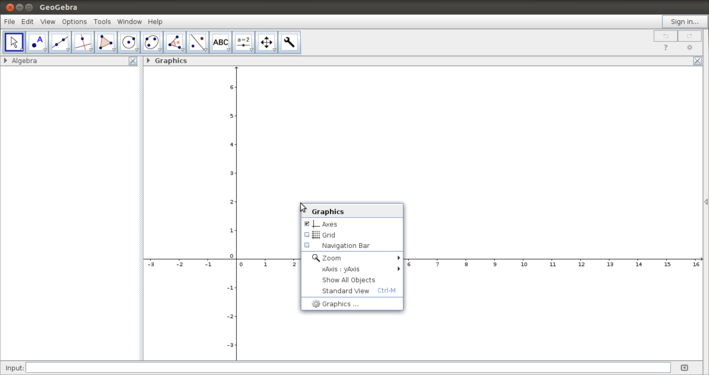
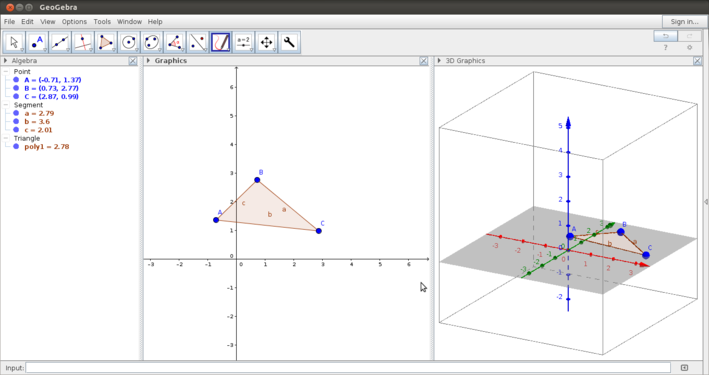
| − | + | उपर्युक्त छवियां आपको जियोजेब्रा विंडो दिखाती हैं। जियोजेब्रा खोलने के बाद, आप दूसरी छवि में एप्लिकेशन विंडो देखेंगे। उपयोगकर्ता धुरी, ग्रिड, अक्ष के पैमाने इत्यादि के संदर्भ में ग्राफिक्स दृश्य को परिभाषित कर सकता है। व्यू विकल्प से आप उन दृश्यों की संख्या को परिभाषित कर सकते हैं जिन्हें आप देखना चाहते हैं - इस तीसरी छवि में, तीन दृश्य दिखाए जाते हैं - बीजगणित दृश्य, ग्राफिक्स दृश्य और त्रियामी व्यू। इस पुस्तिका में, हम मुख्य रूप से द्विआमी विंडो पर चर्चा करेंगे। | |
| − | ==== | + | ==== '''टूल बार का उपयोग करना - मूलभूत''' ==== |
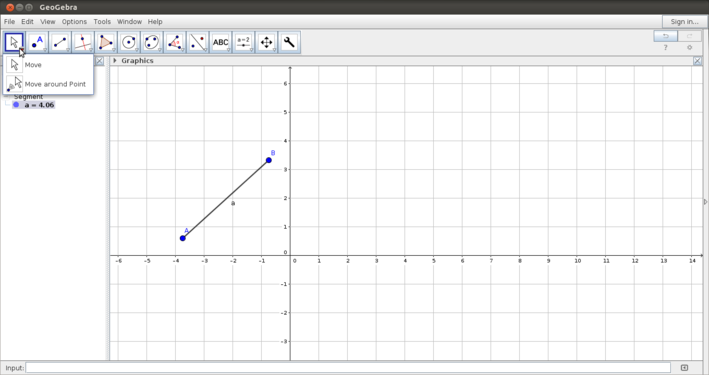
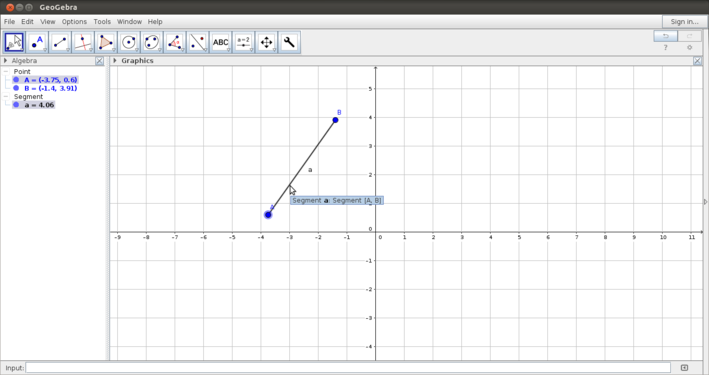
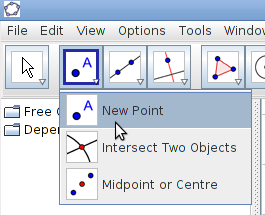
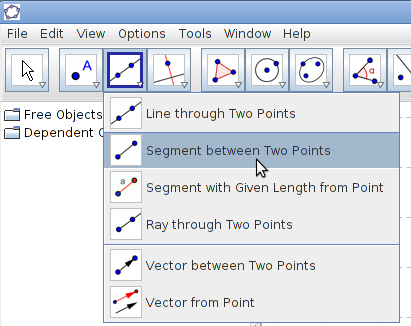
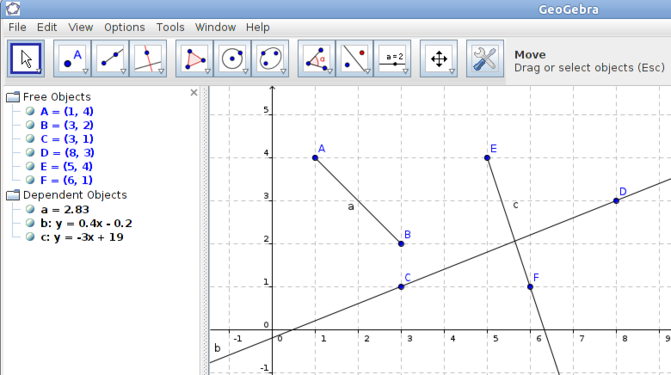
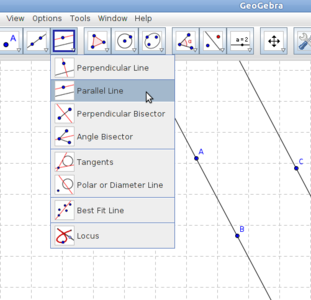
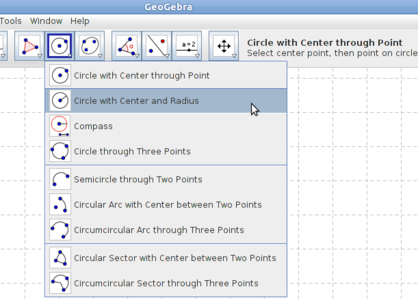
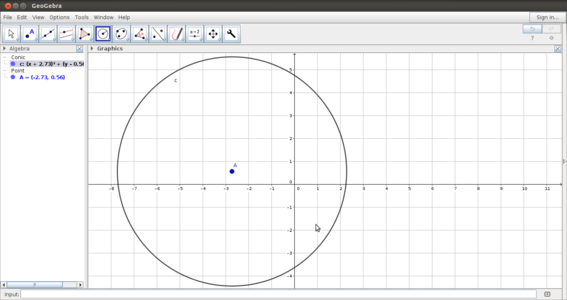
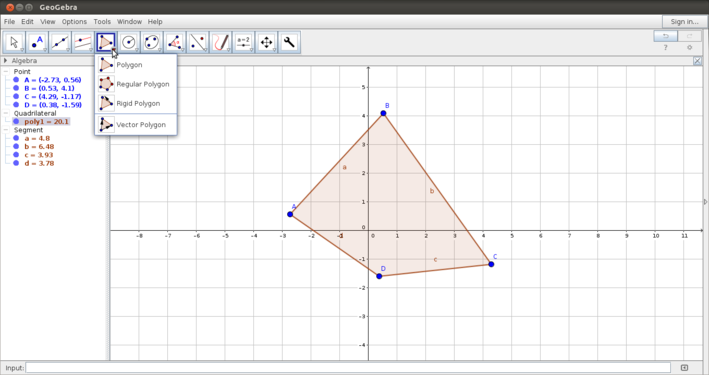
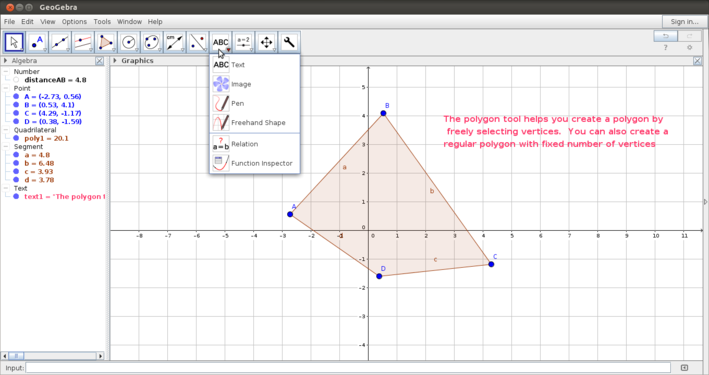
| − | + | इस खंड में आपको टूल बार पर उपलब्ध बुनियादी निर्माण के बारे मैं बताया जाएगा। चलती, रेखाएं और रेखा खंड, समांतर, मंडल, बहुभुज | |
| − | |||
<gallery mode="packed" heights="250px" caption="Introduction to the tool bar"> | <gallery mode="packed" heights="250px" caption="Introduction to the tool bar"> | ||
| − | File:Geogebra3.png| | + | File:Geogebra3.png|वस्तुओं को स्थानांतरित करना |
| − | File:Geogebra4.png| | + | File:Geogebra4.png|एक बिंदु के चारों ओर घूर्णन से आगे बढ़ना |
</gallery> | </gallery> | ||
<gallery mode="packed" heights="250px"> | <gallery mode="packed" heights="250px"> | ||
| − | File:Geogebra 2 New point.png| | + | File:Geogebra 2 New point.png|आलेखन बिंदु मेनू |
| − | File:Geogebra 3 segment between Two points.png| | + | File:Geogebra 3 segment between Two points.png|रेखाएं और रेखा खंड मेनू |
| − | File:Geogebra_5_Construction_of_line.png| | + | File:Geogebra_5_Construction_of_line.png|रेखाएं और रेखा खंड बनाना |
</gallery> | </gallery> | ||
<gallery mode="packed" heights="200px"> | <gallery mode="packed" heights="200px"> | ||
| − | File:Geogebra 6 Construction a parallel line.png| | + | File:Geogebra 6 Construction a parallel line.png|समांतर रेखाएं बनाना |
| − | File:Geogebra 12 Circle with Center and Radius.png| | + | File:Geogebra 12 Circle with Center and Radius.png|वृत्त |
| − | File:Geogebra6_circle.png| | + | File:Geogebra6_circle.png|केंद्र और दिए गए त्रिज्या के साथ वृत्त |
</gallery> | </gallery> | ||
The Geogebra tool bar is very versatile - the construction follows the processes that we would normally follow in paper and pen construction. Some six important categories in the tool bar are discussed below: | The Geogebra tool bar is very versatile - the construction follows the processes that we would normally follow in paper and pen construction. Some six important categories in the tool bar are discussed below: | ||
०९:५८, ३० मई २०१८ का अवतरण
परिचयमूलभूत जानकारी
सुविधाओं का अवलोकनजियोजेब्रा आपको द्वियामी और त्रिआमी विंडो के साथ विभिन्न रेखागणित आकार और ठोस के गतिशील स्केच बनाने की अनुमति देता है। अपने ग्राफिक्स व्यू के साथ, स्प्रेडशीट व्यू और बीजगणित दृश्य के माध्यम से वह एक संवादात्मक रूप से बीजगणित, रेखागणित और आंकड़ों का संयोजन सीखने मैं सहायता करता है। जियोजेब्रा छवि को छवि या जीआईएफ फाइलों के रूप में निर्यात करने और एचटीएमएल पृष्ठों के रूप में प्रकाशित करने की अनुमति देता है। स्थापना
एप्लीकेशन के साथ काम करनाजियोजेब्रा इंटरफ़ेस से परिचित होना
उपर्युक्त छवियां आपको जियोजेब्रा विंडो दिखाती हैं। जियोजेब्रा खोलने के बाद, आप दूसरी छवि में एप्लिकेशन विंडो देखेंगे। उपयोगकर्ता धुरी, ग्रिड, अक्ष के पैमाने इत्यादि के संदर्भ में ग्राफिक्स दृश्य को परिभाषित कर सकता है। व्यू विकल्प से आप उन दृश्यों की संख्या को परिभाषित कर सकते हैं जिन्हें आप देखना चाहते हैं - इस तीसरी छवि में, तीन दृश्य दिखाए जाते हैं - बीजगणित दृश्य, ग्राफिक्स दृश्य और त्रियामी व्यू। इस पुस्तिका में, हम मुख्य रूप से द्विआमी विंडो पर चर्चा करेंगे। टूल बार का उपयोग करना - मूलभूतइस खंड में आपको टूल बार पर उपलब्ध बुनियादी निर्माण के बारे मैं बताया जाएगा। चलती, रेखाएं और रेखा खंड, समांतर, मंडल, बहुभुज
The Geogebra tool bar is very versatile - the construction follows the processes that we would normally follow in paper and pen construction. Some six important categories in the tool bar are discussed below:
Using the tool bar - advanced features
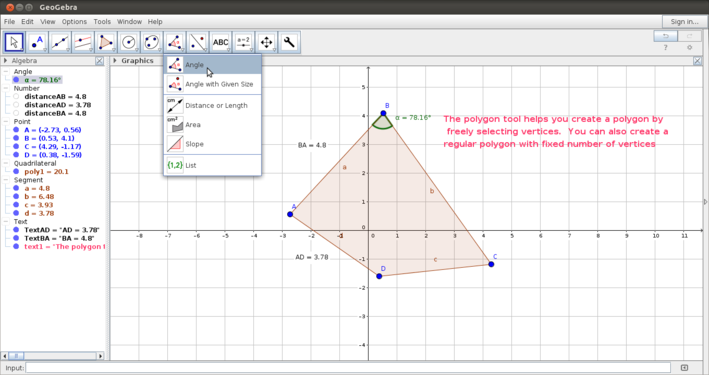
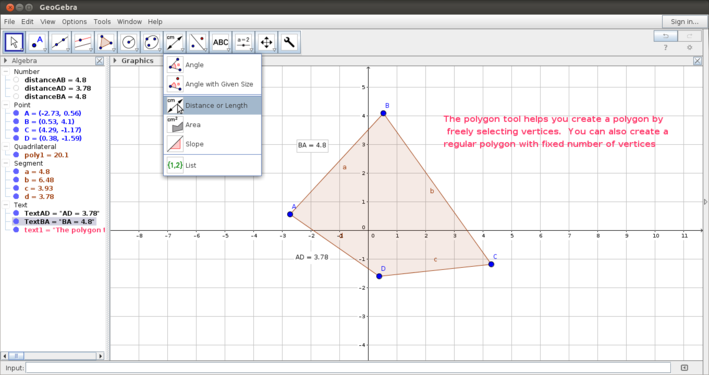
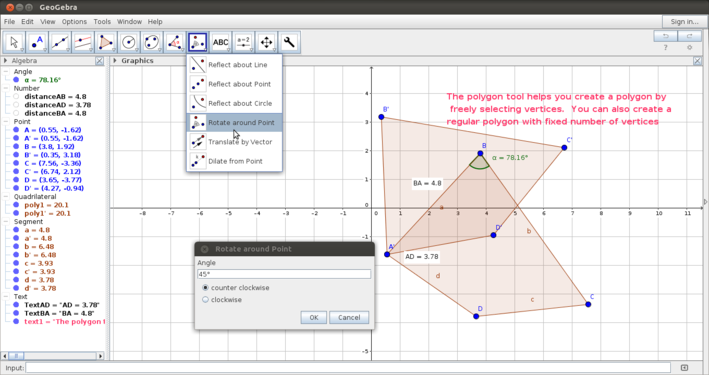
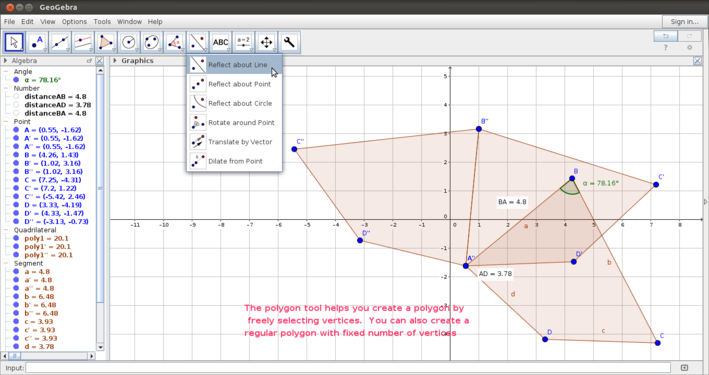
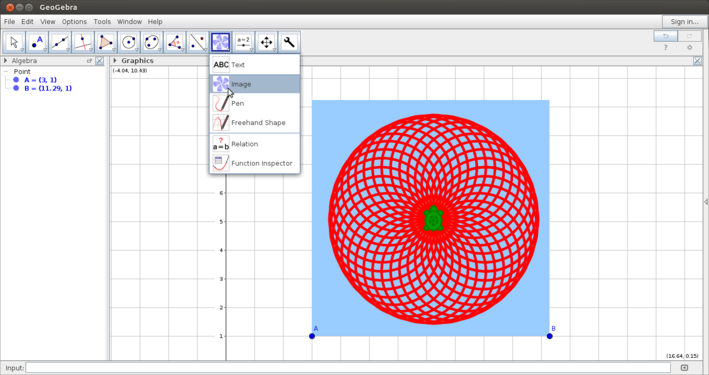
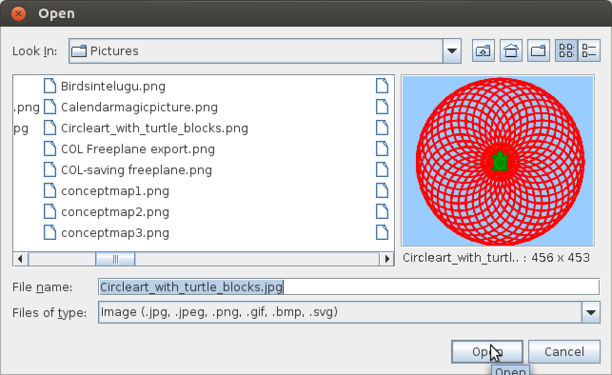
The above set of images show how to work with some advanced features in the Geogebra tool bar.
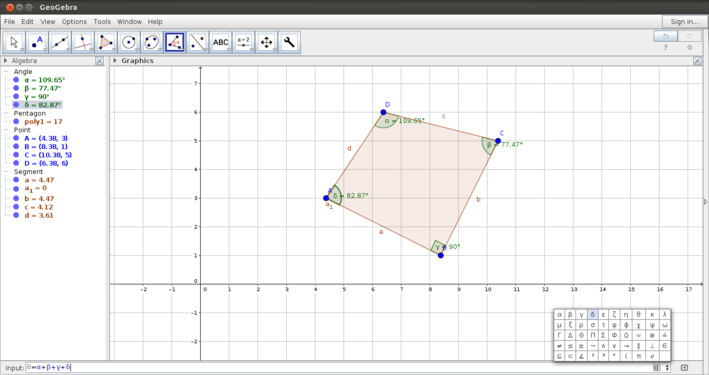
Using the input bar
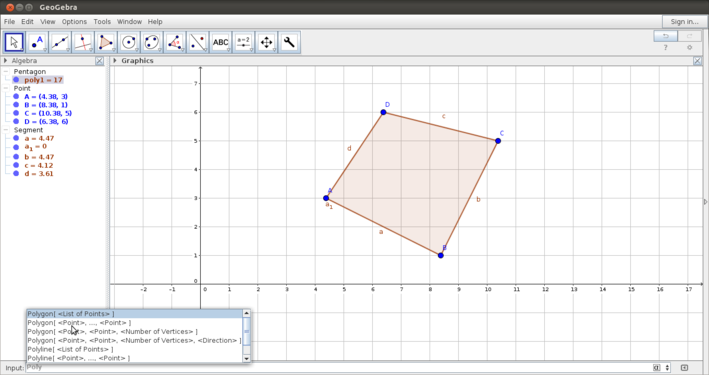
In Geogebra, all the constructions you can do using the tool bar can also be done with definitions on the input bar. The input bar also follows the same mathematical conventions used in the tool bar.
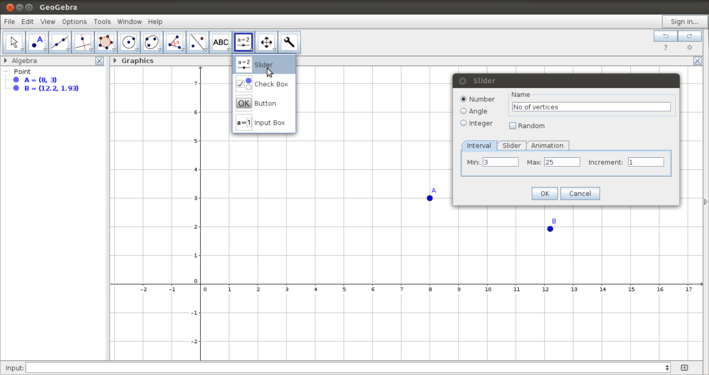
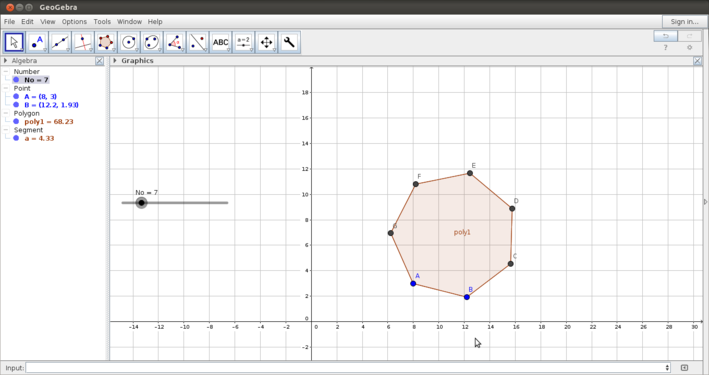
Using the tool bar - sliderOne of the powerful features of Geogebra is the dynamic feature. You can vary parameters of the shape that you want to animate and see how properties change.
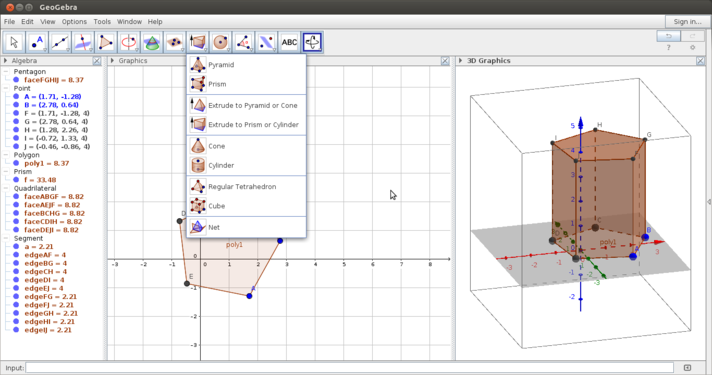
3D view
Using Geogebra to make a given sketchYou have learnt many functionalities. An example of how to use these different tools to create a Geogebra construction can be found here. Saving and exporting
Advanced features
Ideas for resource creation
References |

