Difference between revisions of "Learn Wikimedia Commons"
Jump to navigation
Jump to search
m |
|||
| Line 21: | Line 21: | ||
=Working with the application= | =Working with the application= | ||
==Functionalities== | ==Functionalities== | ||
| − | |||
| − | |||
{| class="wikitable" | {| class="wikitable" | ||
|- | |- | ||
| − | | style="width: 50%;" | | + | | style="width: 50%;" |{{ext-img|450px|lhttps://upload.wikimedia.org/wikipedia/commons/9/97/Wikimedia_Commons_1_Open_Browser.png}} |
| − | | style="width: 50%;" | | + | | style="width: 50%;" |{{ext-img|450px|https://upload.wikimedia.org/wikipedia/commons/e/e3/Wikicommons_2_Type_Address_of_Wkicommons_in_browser.png}} |
|- | |- | ||
| − | | style="width: 50%;" | | + | | style="width: 50%;" |Step 1:To open Wikicommons Go to Application >Internet>Browser |
| − | | style="width: 50%;" | | + | | style="width: 50%;" |Step 2: Type the wikicommons Address in the address bar of the web browser and open |
|- | |- | ||
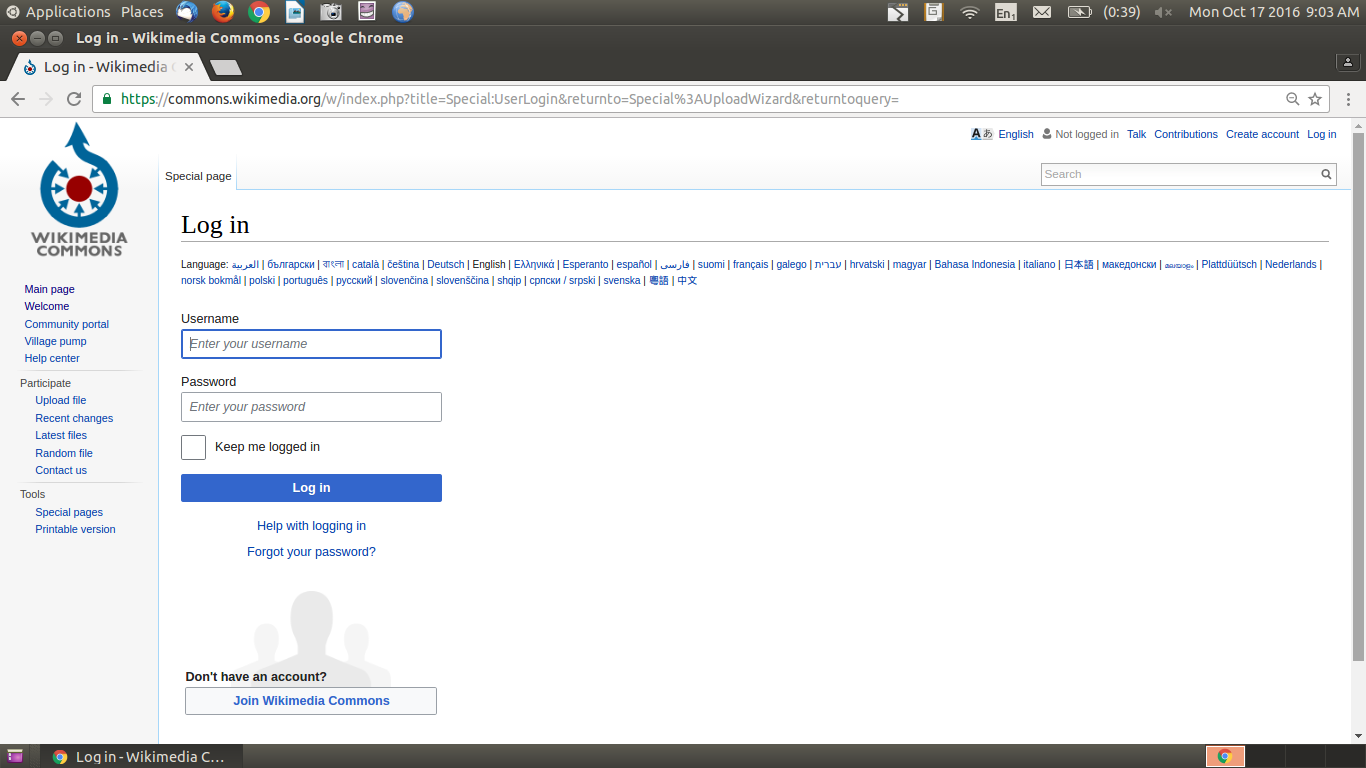
| − | | style="width: 50%;" | | + | | style="width: 50%;" |{{ext-img|450px|https://upload.wikimedia.org/wikipedia/commons/f/f6/Wikicommons_3_Create_ID_and_log_in.png}} |
| − | | style="width: 50%;" | | + | | style="width: 50%;" |{{ext-img|450px|https://upload.wikimedia.org/wikipedia/commons/c/cc/Wikicommons_4_Main_page.png}} |
|- | |- | ||
| − | | style="width: 50%;" | | + | | style="width: 50%;" |Step 3: Create an ID in the Wkicommons and Log in to Upload |
| − | | style="width: 50%;" | | + | | style="width: 50%;" |Step 4:Main page which Display on the browser when you loging to the Wikicommons page |
| + | |- | ||
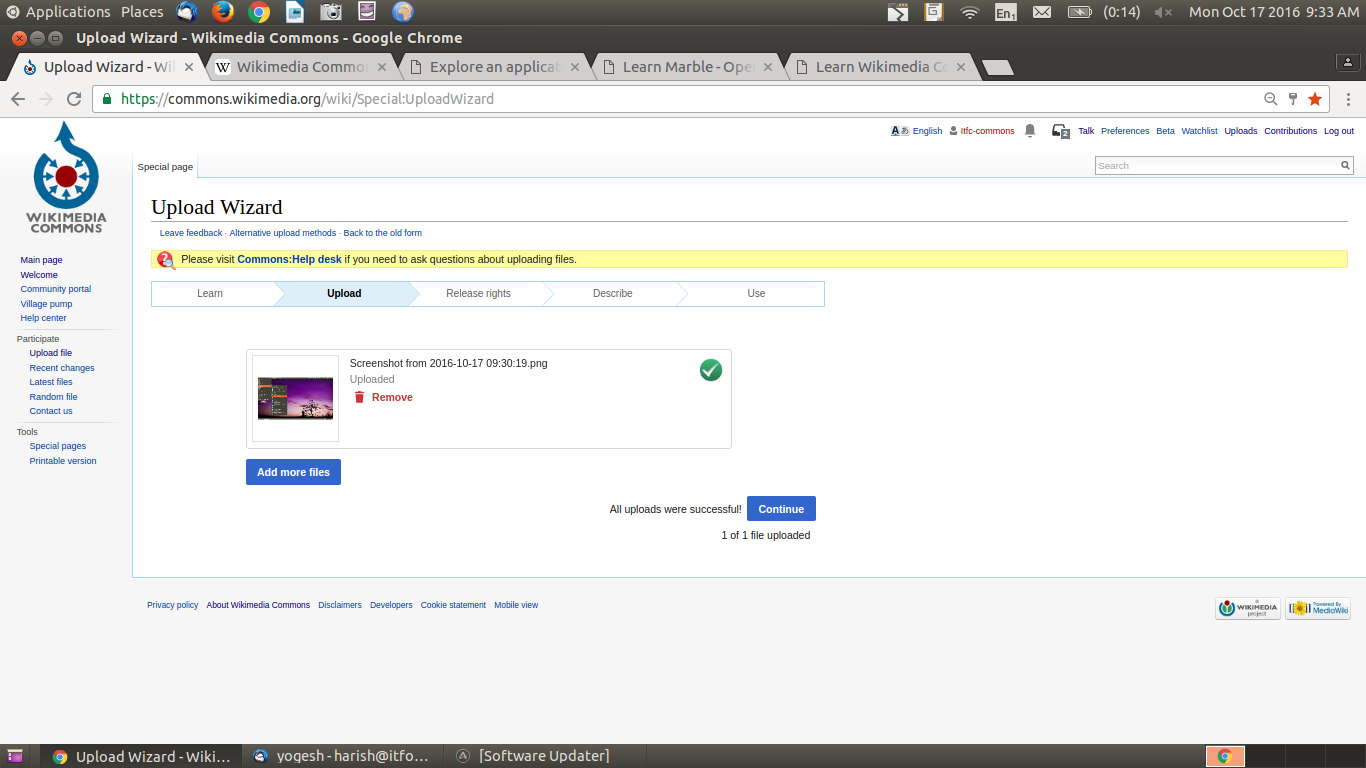
| + | | style="width: 50%;" |{{ext-img|450px|https://upload.wikimedia.org/wikipedia/commons/5/57/Wikicommons_5_Upload_the_file.png}} | ||
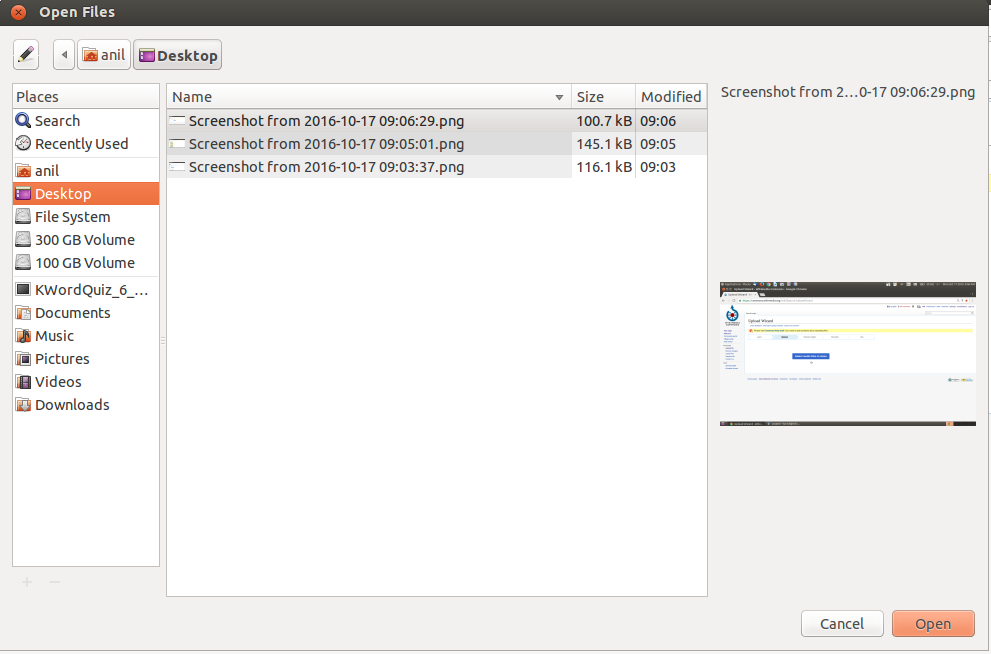
| + | | style="width: 50%;" |{{ext-img|450px|https://upload.wikimedia.org/wikipedia/commons/4/41/Wikicommons_6_Select_the_file.png}} | ||
| + | |- | ||
| + | | style="width: 50%;" |Step 5: Upload the file to Wikicommons page | ||
| + | | style="width: 50%;"Step 6: Select the file which you need to upload ti the Wkicommons page | ||
| + | |- | ||
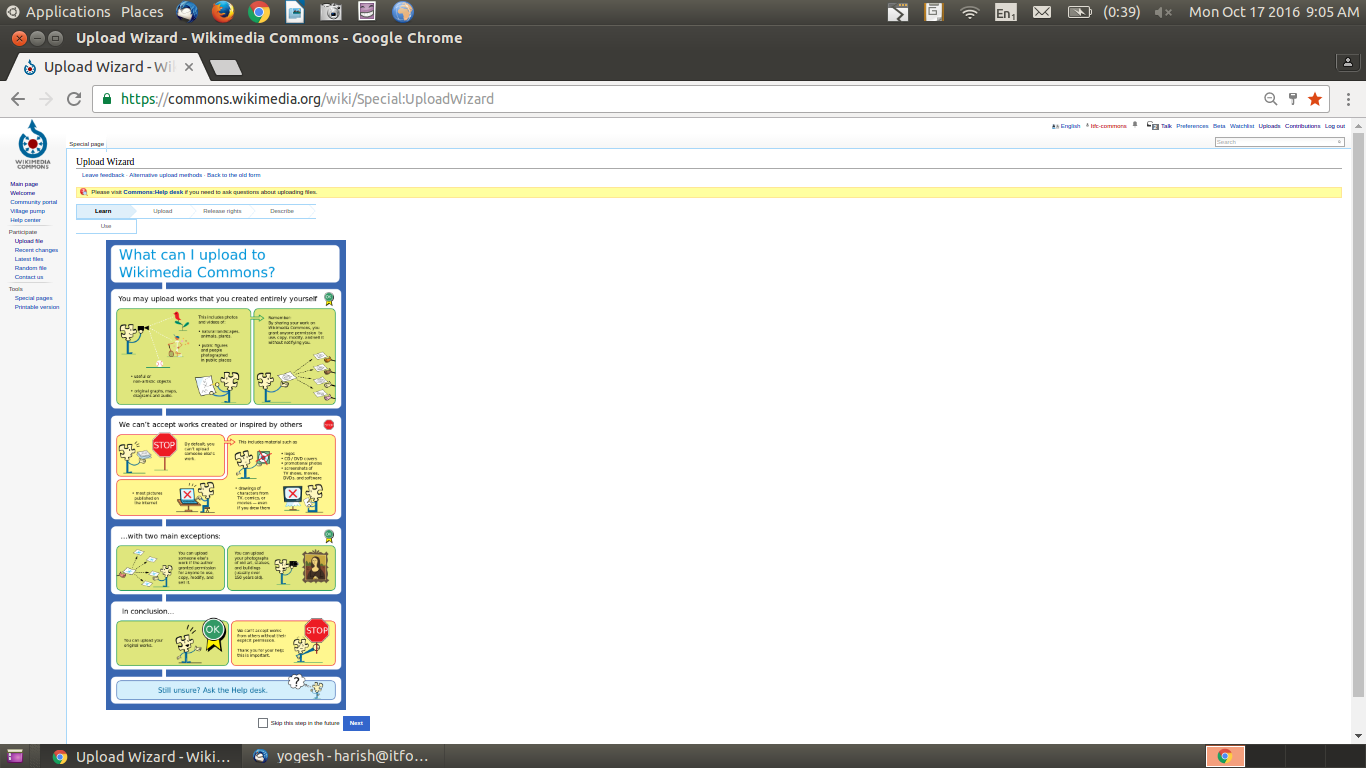
| + | | style="width: 50%;" |{{ext-img|450px|https://upload.wikimedia.org/wikipedia/commons/e/ec/Wikicommons_7_Upload_can_be_done.png}} | ||
| + | | style="width: 50%;" |{{ext-img|450px|https://upload.wikimedia.org/wikipedia/commons/9/98/Wikicommons_8_Fill_the_Details_1.png}} | ||
| + | |- | ||
| + | | style="width: 50%;" |Step 7: After Selecting the file the page shows that you can upload the file to the Wikicommons | ||
| + | | style="width: 50%;" |Step 8: Fill the Details of the Image Screenshot Author And Version of the Application in the page | ||
| + | |- | ||
| + | | style="width: 50%;" |{{ext-img|450px|https://upload.wikimedia.org/wikipedia/commons/0/07/Wikicommons_9_Fill_the_Details_2.png}} | ||
| + | | style="width: 50%;" |{{ext-img|450px|https://upload.wikimedia.org/wikipedia/commons/c/c7/Wikicommons_10_Upload_link.png}} | ||
| + | |- | ||
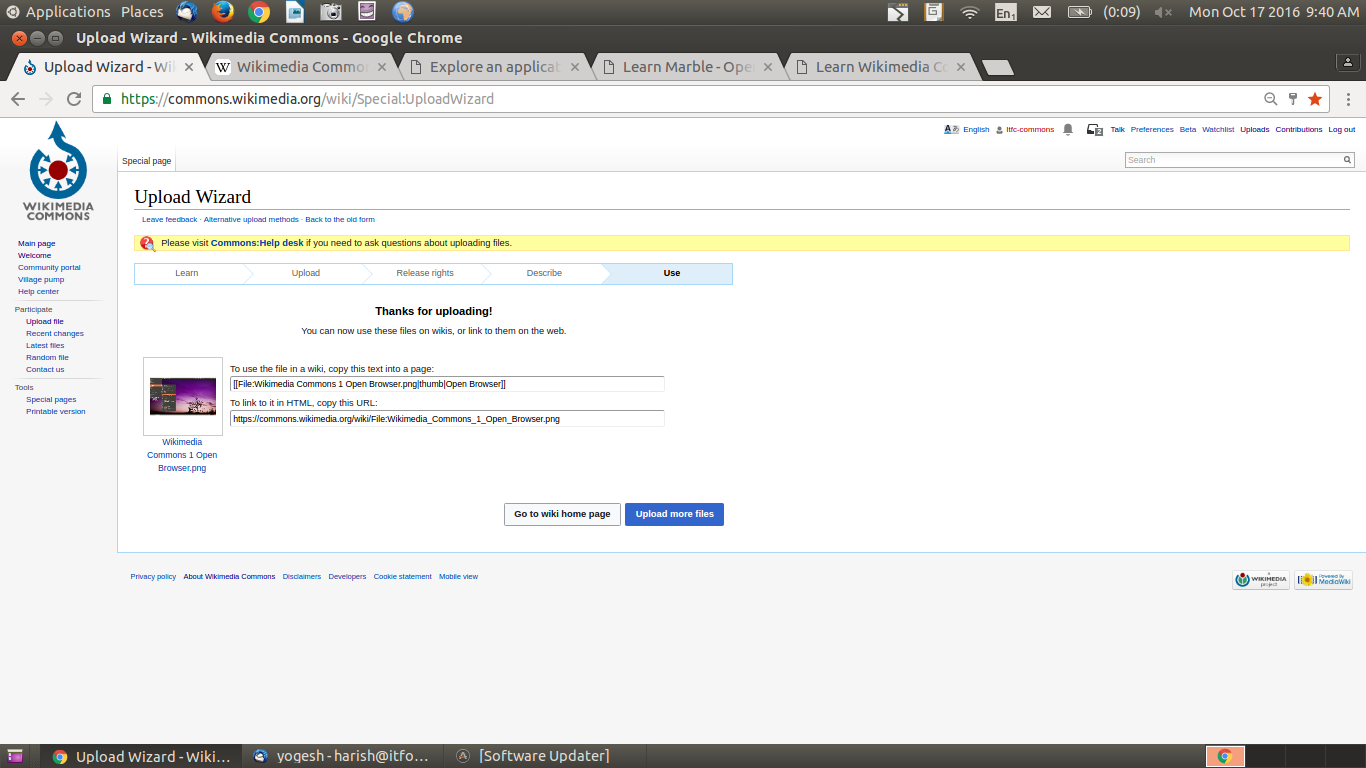
| + | | style="width: 50%;" |Step 9: Fill the Details of the Image Screenshot Name ,Date,Screenshot of which Application and click on next | ||
| + | | style="width: 50%;" |Step 10 : Wikicommons page gives the image link which you have uploaded and you can link this to other page to see the image which u have been uploaded | ||
| + | |||
|} | |} | ||
| Line 47: | Line 64: | ||
=Installation= | =Installation= | ||
| − | |||
| − | |||
| − | |||
| − | |||
| − | |||
| − | |||
| − | |||
| − | |||
| − | |||
| − | |||
| − | |||
| − | |||
=The application on mobiles and tablets= | =The application on mobiles and tablets= | ||
Revision as of 04:52, 18 October 2016

Introduction
Wikimedia Commons (or simply Commons) is an online repository of free-use images, sound, and other media files.[2] It is a project of the Wikimedia Foundation.
Educational application and relevance
Wikimedia Commons is an online repository of Free use images, sound, and other media files.It is a project of the Wikimedia Foundation.
Version
Configuration
Overview of Features
Files from Wikimedia Commons can be used across all Wikimedia projects in all languages, including Wikipedia, Wikibooks, Wikivoyage, Wikispecies, Wikisource, and Wikinews, or downloaded for offsite use. The repository contains over 34 million media files.[4] In July 2013, the number of edits on Commons reached 100,000,000.
Other similar applications
Development and community help
Wikimedia Foundation
Working with the application
Functionalities
lhttps://upload.wikimedia.org/wikipedia/commons/9/97/Wikimedia_Commons_1_Open_Browser.png
|

|
| Step 1:To open Wikicommons Go to Application >Internet>Browser | Step 2: Type the wikicommons Address in the address bar of the web browser and open |
|
|
| Step 3: Create an ID in the Wkicommons and Log in to Upload | Step 4:Main page which Display on the browser when you loging to the Wikicommons page |

|
|
| Step 5: Upload the file to Wikicommons page | style="width: 50%;"Step 6: Select the file which you need to upload ti the Wkicommons page |
|

|
| Step 7: After Selecting the file the page shows that you can upload the file to the Wikicommons | Step 8: Fill the Details of the Image Screenshot Author And Version of the Application in the page |

|
|
| Step 9: Fill the Details of the Image Screenshot Name ,Date,Screenshot of which Application and click on next | Step 10 : Wikicommons page gives the image link which you have uploaded and you can link this to other page to see the image which u have been uploaded |